Site-to-Site VPN with Transit Gateway: A Lab Walkthrough
Building hybrid connectivity between on-premises and AWS using Transit Gateway, Site-to-Site VPN, and strongSwan.
Setting up VPN connectivity to AWS taught me more about networking than any video course. This lab from AWS Cloud Quest walks through the entire process - Transit Gateway, Customer Gateway, VPN tunnels, and route table configuration.
What We're Building
- Transit Gateway as the central hub
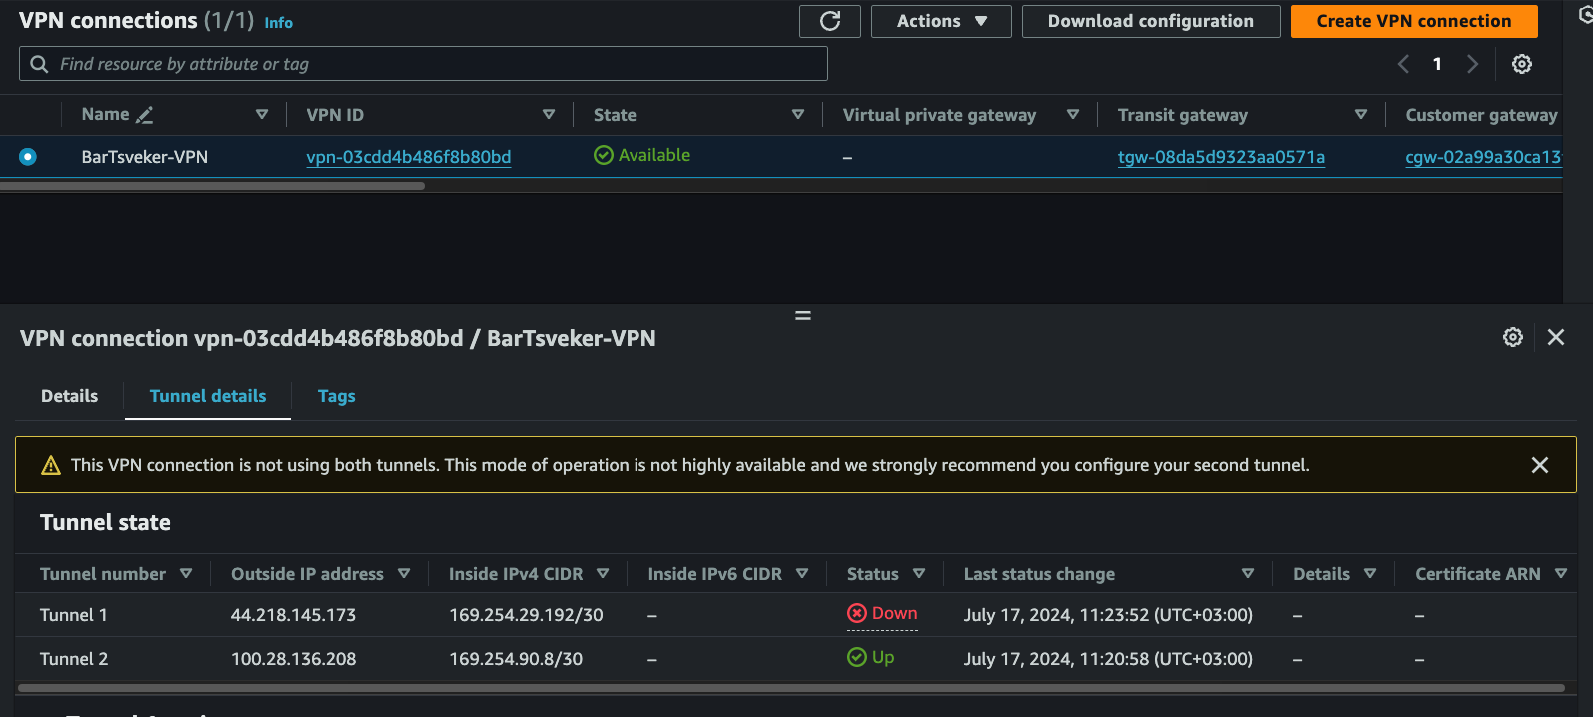
- Site-to-Site VPN connection with two tunnels
- strongSwan as the on-premises VPN endpoint
- Route tables directing traffic through the VPN
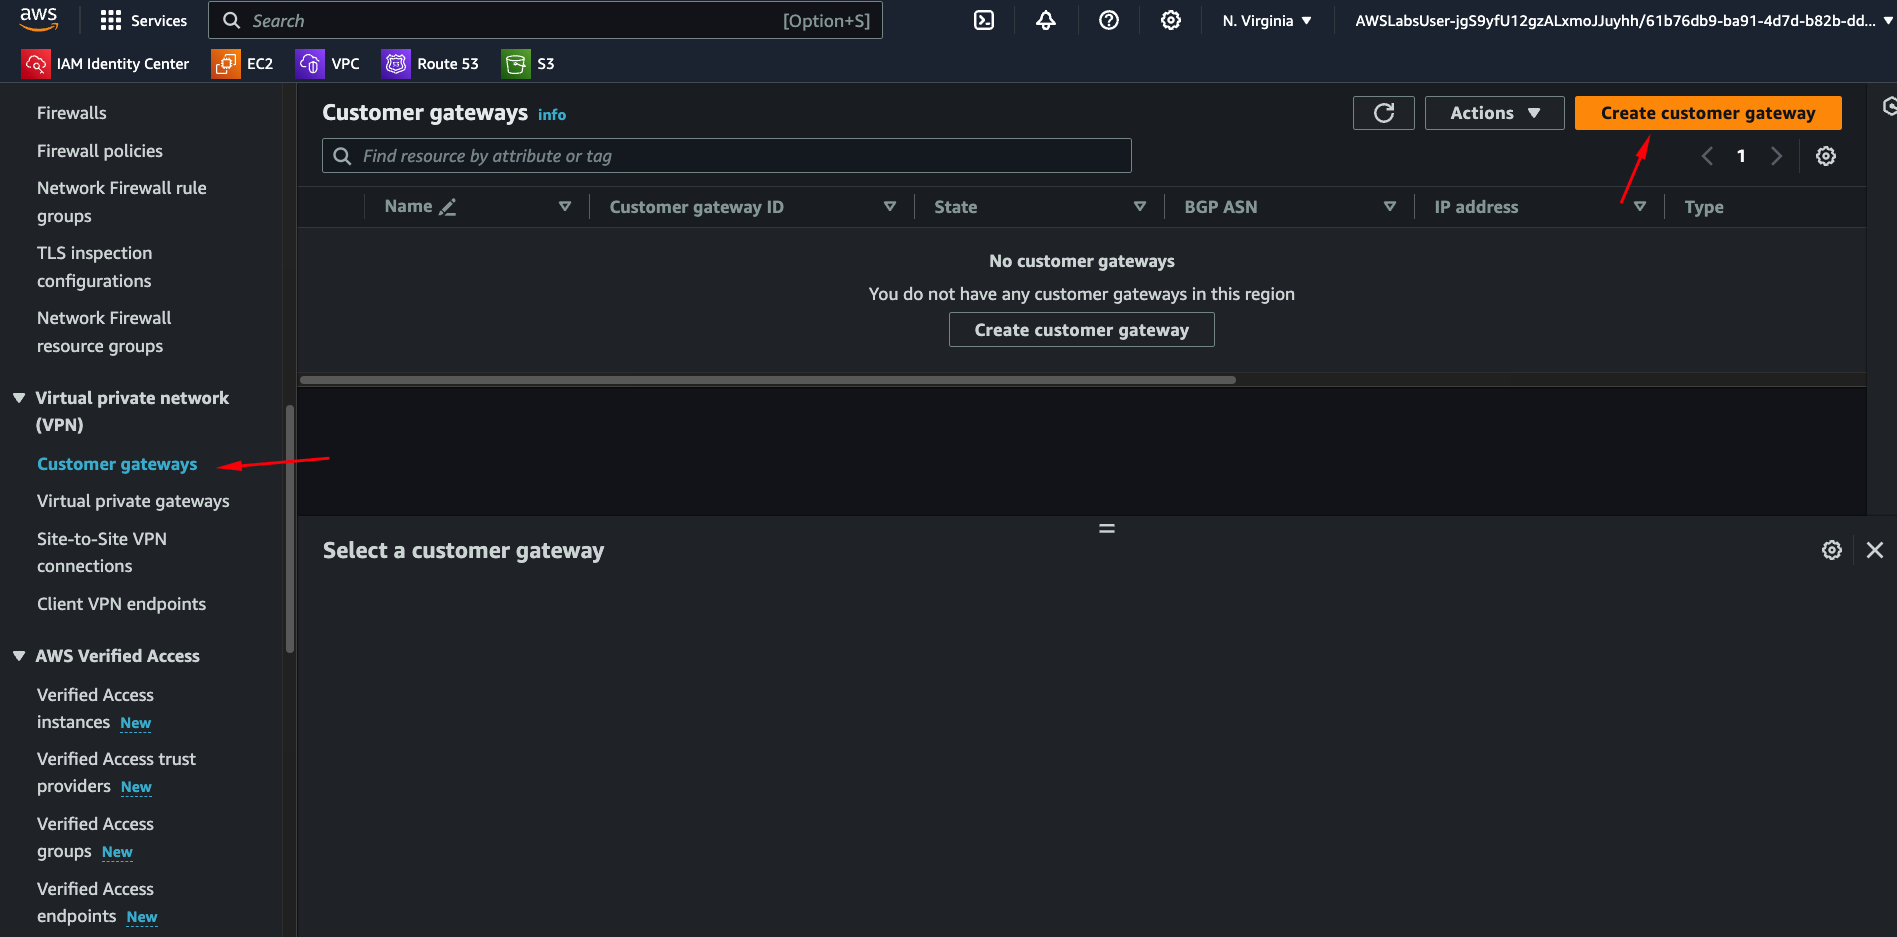
Step 1: Create Customer Gateway
The Customer Gateway represents your on-premises VPN device in AWS.
VPC Console → Customer Gateways → Create
- BGP ASN: 65534
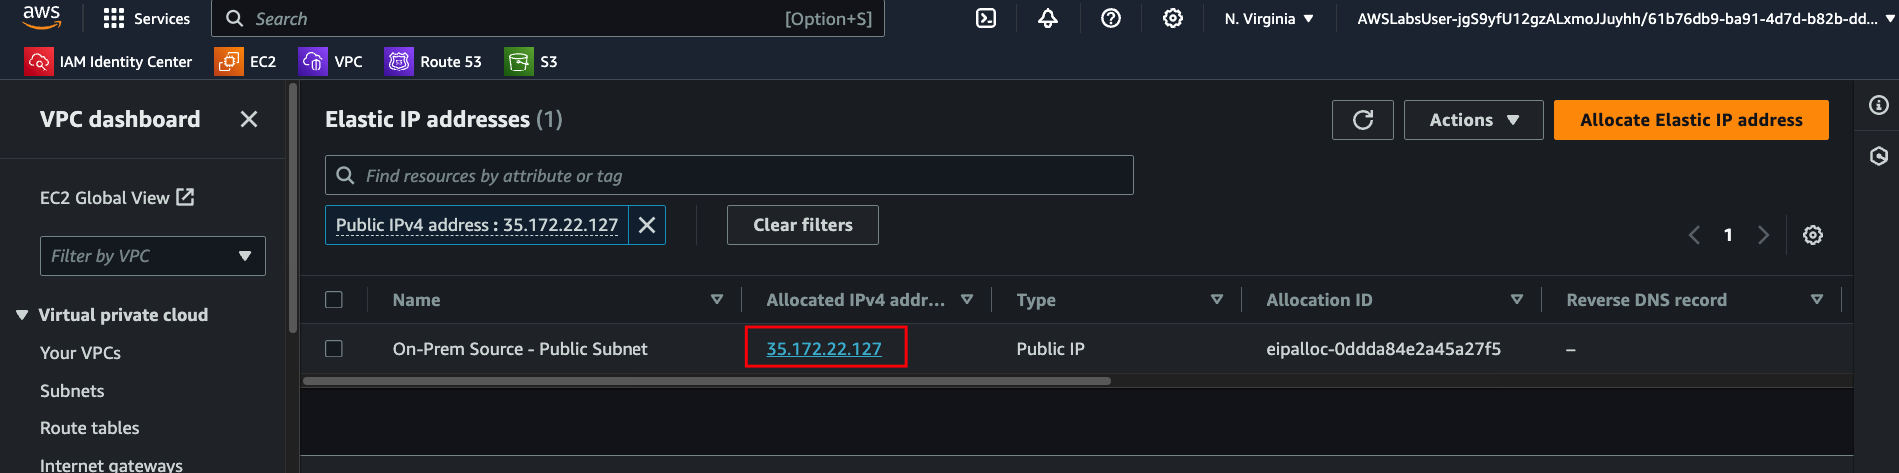
- IP Address: Your on-prem router's public IP
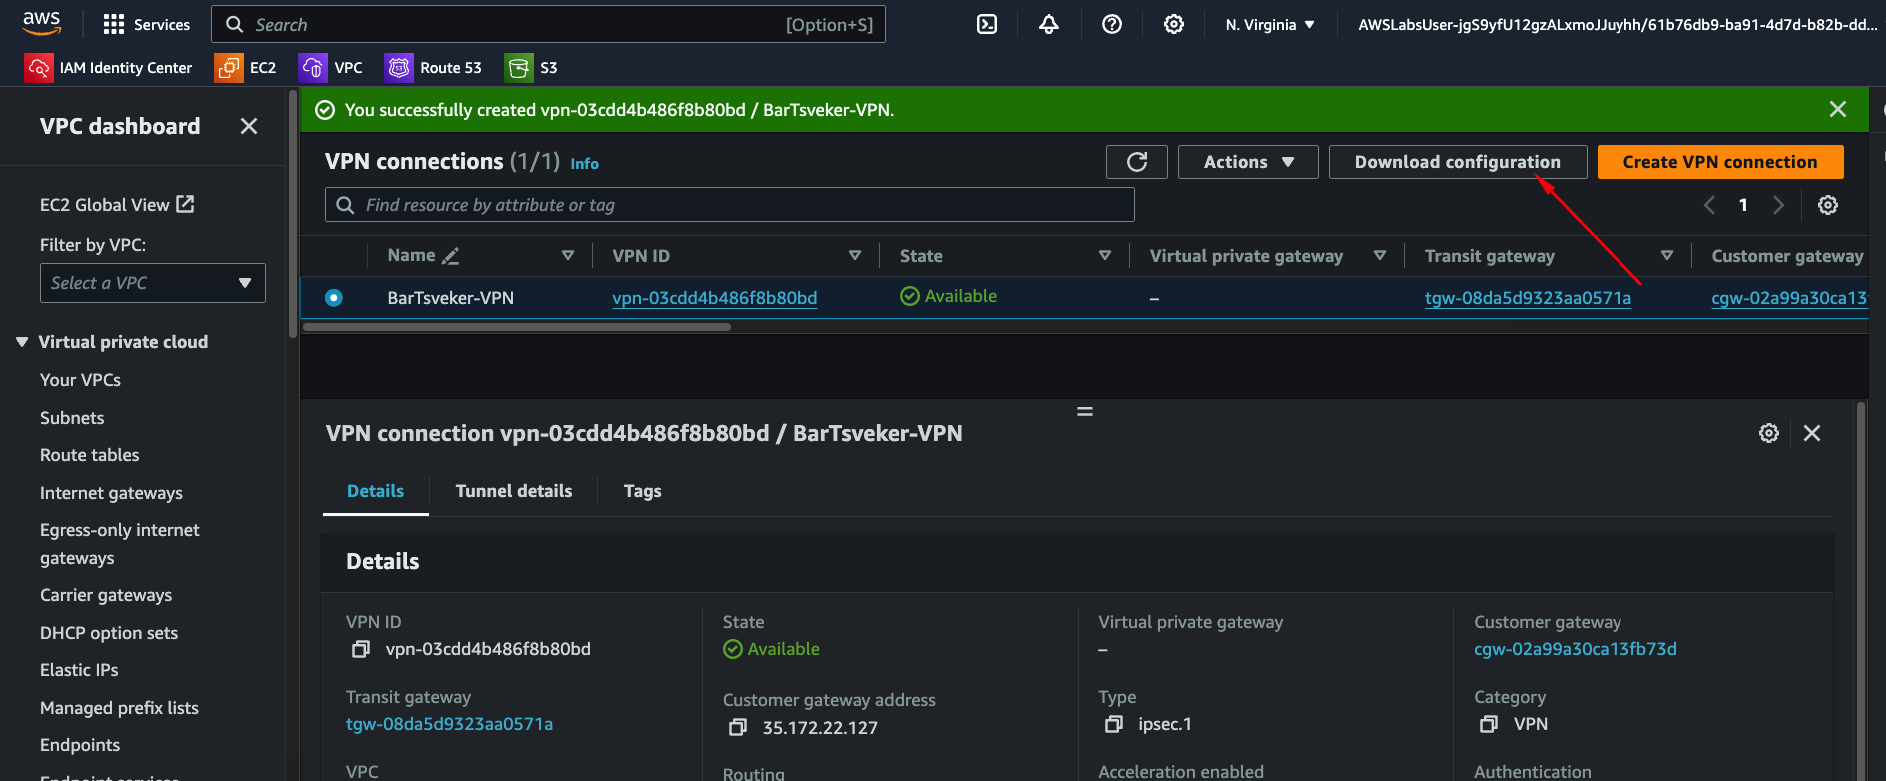
Step 2: Create Site-to-Site VPN
VPC Console → Site-to-Site VPN Connections → Create
- Target Gateway Type: Transit Gateway
- Customer Gateway: The one you just created
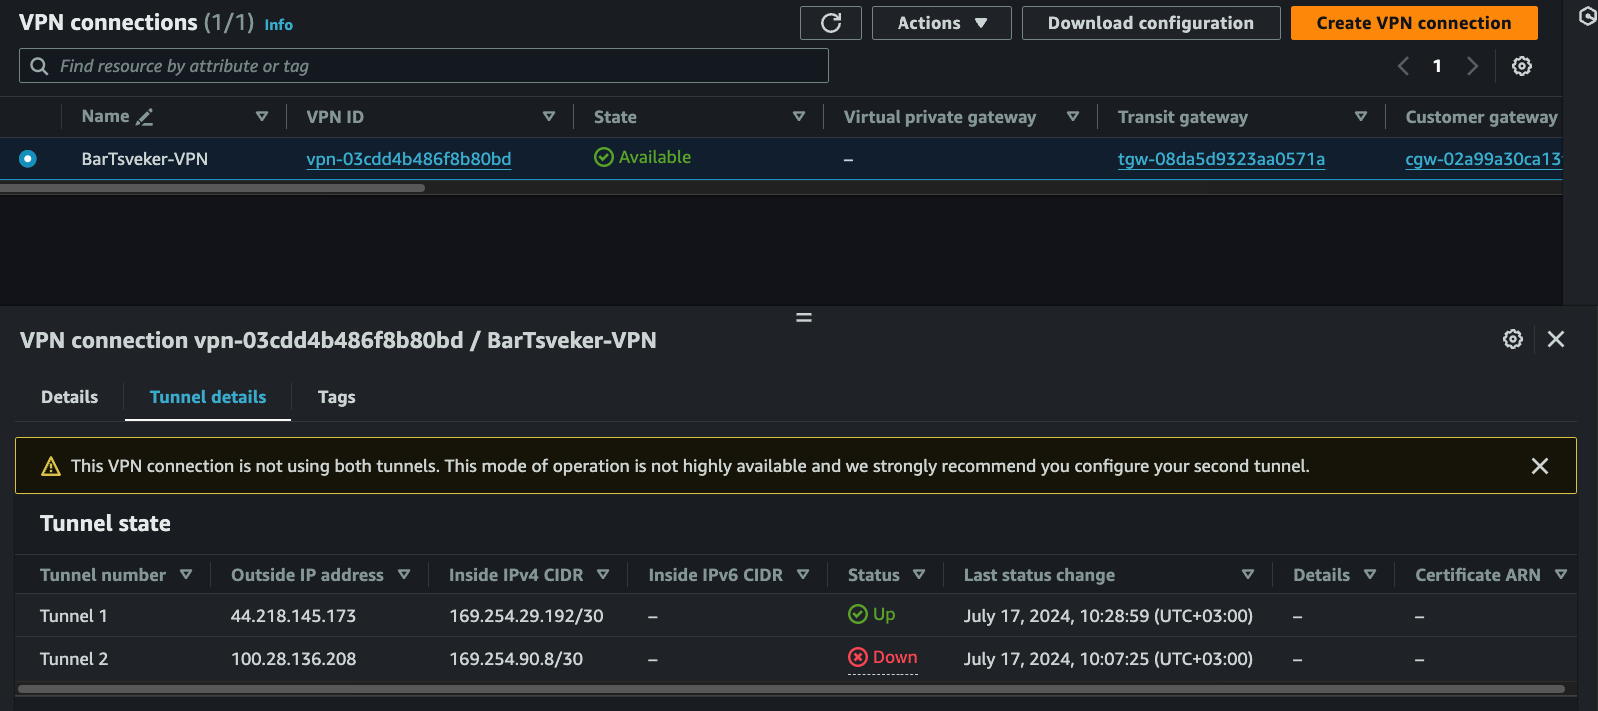
Wait 5-10 minutes for provisioning.
Step 3: Download Configuration
Once available, download the VPN configuration. Select "Generic" as the vendor.
The config file contains everything you need:
- Pre-shared keys for both tunnels
- Virtual Private Gateway IPs
- Inside tunnel IP addresses
Extract these values:
TUNNEL_1_PRESHARED_KEY=xE8eQbSVlahjAfFgdrOTevNcVeFWlm67
TUNNEL_1_IP_ADDRESS=44.218.145.173
TUNNEL_2_PRESHARED_KEY=auJI_dDWMlcM_MkvavUqL9fqtox.GsUX
TUNNEL_2_IP_ADDRESS=100.28.136.208
Step 4: Configure strongSwan
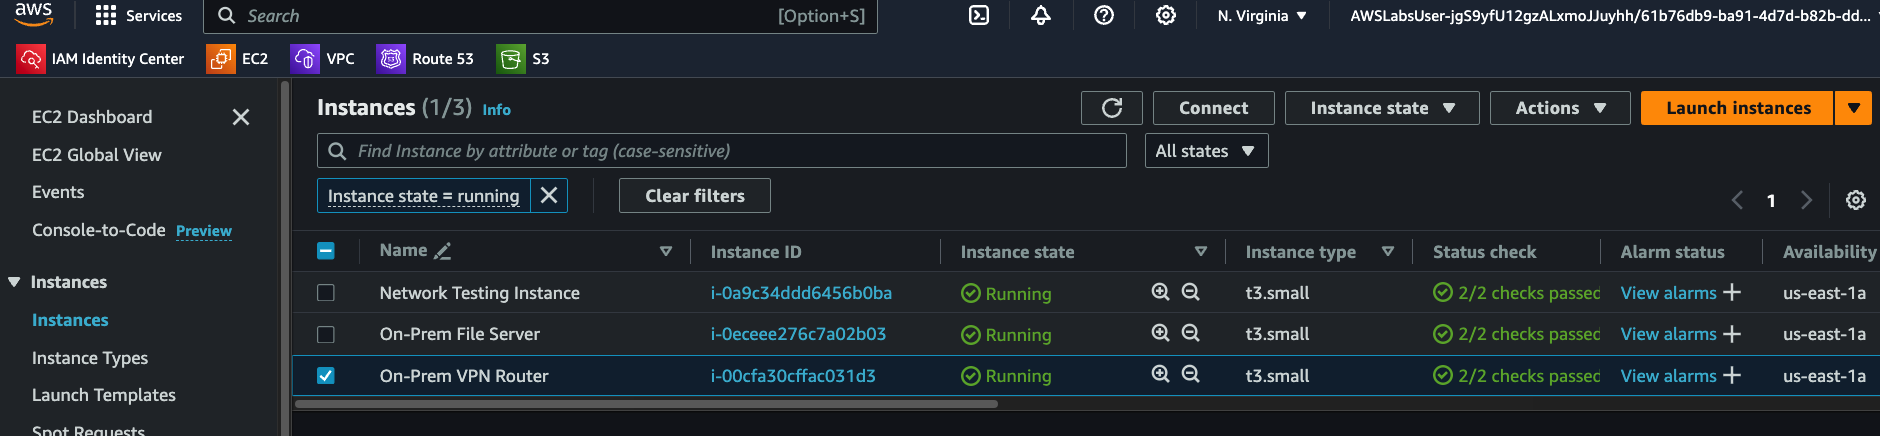
Connect to your on-premises router (via Session Manager in the lab) and configure strongSwan:
# Set environment variables
export TUNNEL_1_PRESHARED_KEY=xE8eQbSVlahjAfFgdrOTevNcVeFWlm67
export TUNNEL_1_IP_ADDRESS=44.218.145.173
export TUNNEL_2_PRESHARED_KEY=auJI_dDWMlcM_MkvavUqL9fqtox.GsUX
export TUNNEL_2_IP_ADDRESS=100.28.136.208

# Inject values into config files
sudo sed -i "s/TUNNEL_1_IP_ADDRESS/$TUNNEL_1_IP_ADDRESS/g" /etc/strongswan/ipsec.conf
sudo sed -i "s/TUNNEL_2_IP_ADDRESS/$TUNNEL_2_IP_ADDRESS/g" /etc/strongswan/ipsec.conf
sudo sed -i "s/TUNNEL_1_PRESHARED_KEY/$TUNNEL_1_PRESHARED_KEY/g" /etc/strongswan/ipsec.secrets
sudo sed -i "s/TUNNEL_2_PRESHARED_KEY/$TUNNEL_2_PRESHARED_KEY/g" /etc/strongswan/ipsec.secrets

# Start the VPN
sudo systemctl enable strongswan
sudo strongswan start
sudo strongswan up tunnel1
sudo strongswan status
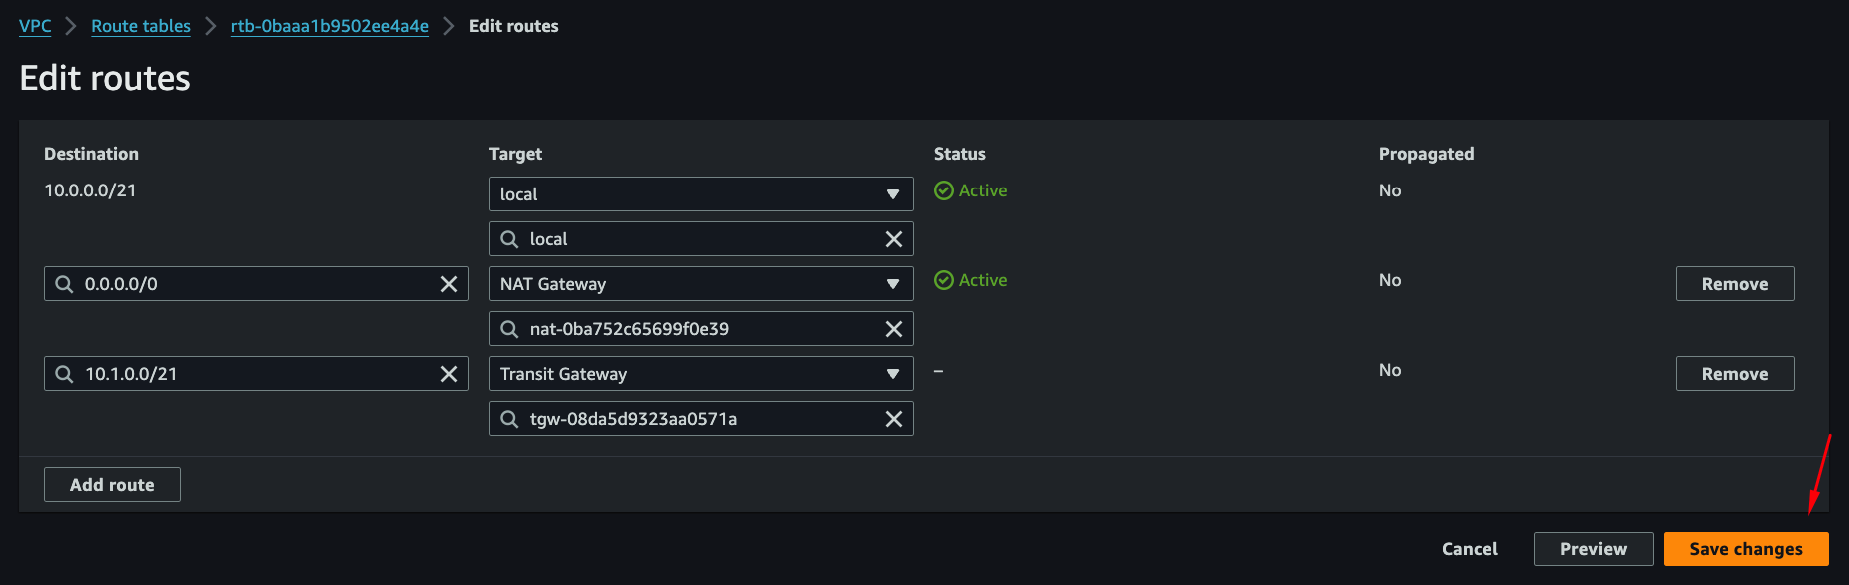
Step 5: Update Route Tables
Traffic won't flow until route tables point to the Transit Gateway.
VPC route tables: Add route for on-prem CIDR → Transit Gateway
On-prem route table: Add route for AWS VPC CIDRs → VPN router instance
Step 6: Test Connectivity
From an AWS instance:
ping <on-prem-private-ip>
If it works, traffic is flowing through the VPN.

Step 7: Monitor with CloudWatch
Create a dashboard showing tunnel status metrics. You can see which tunnel is active and set alarms for failures.
Testing Failover
AWS provisions two tunnels for redundancy. Test failover by switching:
sudo strongswan up tunnel2
sudo strongswan down tunnel1
Watch CloudWatch metrics update to show the active tunnel changed.
What I Learned
Transit Gateway simplifies multi-VPC. Without it, you'd need separate VPN connections to each VPC. Transit Gateway acts as a hub.
Two tunnels for redundancy. AWS always gives you two. Configure both on your on-prem device for automatic failover.
Route tables are critical. The VPN can be up but traffic won't flow if routes aren't configured on both sides.
strongSwan works well. Open source, production-viable, and template-driven configuration makes automation easy.
Key Takeaways
- Transit Gateway centralizes hybrid connectivity for multiple VPCs
- AWS VPN provides two tunnels automatically - configure both for failover
- Route tables on both sides must point traffic to the VPN
- strongSwan is reliable for on-prem IPsec termination
- CloudWatch dashboards show tunnel status in real-time
- Test failover before going to production
Written by Bar Tsveker
Senior CloudOps Engineer specializing in AWS, Terraform, and infrastructure automation.
Thanks for reading! Have questions or feedback?